 Guide
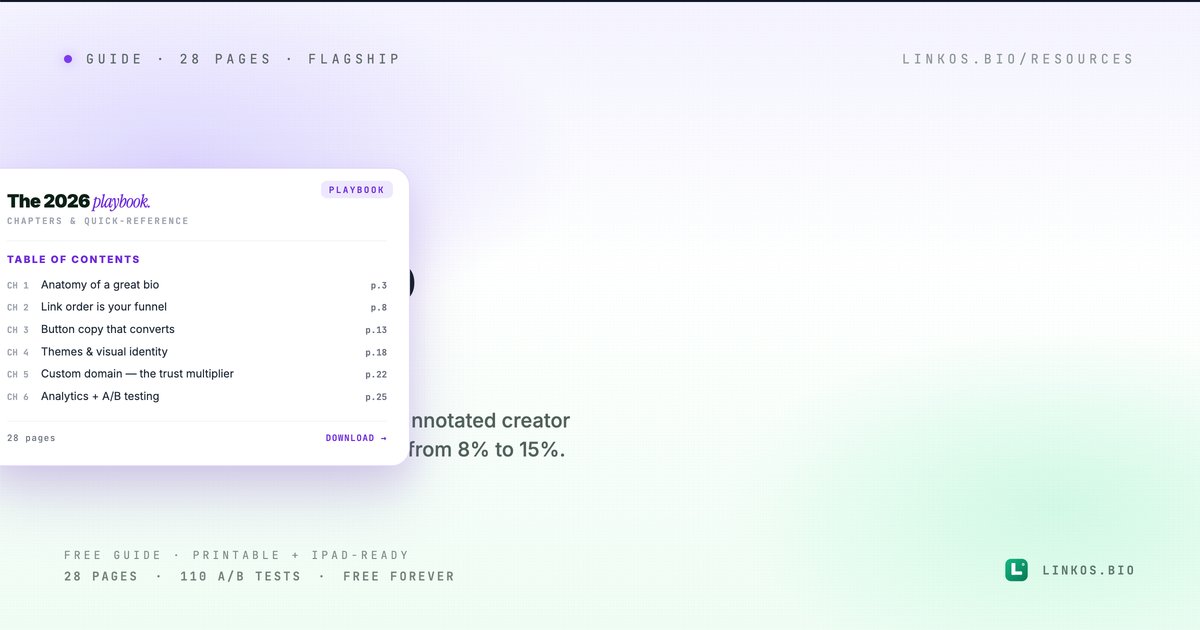
GuideThe 2026 link-in-bio playbook
28-page flagship guide. 6 chapters covering anatomy, link order, button copy, themes, custom domains, analytics. 110 A/B test results + 50 annotated creator pages.
Get it →
0% read · +5 XP when you finish
Sign up free →14-page walkthrough covering Namecheap, GoDaddy, Cloudflare, Porkbun, and Hover with annotated screenshots.
What's inside
Your bio page deserves your domain — not a linkos.bio/yourname URL. This guide walks through pointing a custom domain at Linkos in under 10 minutes, covering every major registrar with screenshots, the two DNS records you actually need, and the three errors that trip up most people on their first try.
If you already own a domain, you can do this today. If you don't, the last section covers what to buy and where.
Three things change the day you put your Linkos page on your own domain.
maya.shoots reads as one of millions of usernames on a third-party platform. maya.shoots on mayashoots.com reads as a brand. Pitch decks, business cards, and email signatures all want a real domain on the line that says "find me here."linkos.bio/whatever triggers spam filters and instinctive caution. Your own domain doesn't.For working creators, this is the single highest-leverage 10 minutes you'll spend on your page setup. Below is the playbook.
Two things:
bio.yoursite.com works fine if you already have yoursite.com for something else.That's it. No coding. No file uploads. No support tickets.
Linkos uses standard DNS records, the same ones every modern hosted platform uses. You'll add one of these two combinations, depending on whether you're setting up an apex domain or a subdomain.
For a subdomain (e.g. bio.yoursite.com):
| Type | Name | Value | TTL |
|---|---|---|---|
| CNAME | bio | proxy.linkos.bio | 3600 |
For an apex domain (e.g. yoursite.com):
| Type | Name | Value | TTL |
|---|---|---|---|
| A | @ | 76.76.21.21 | 3600 |
| A | @ | 76.76.21.93 | 3600 |
If your registrar supports it, ALIAS or ANAME records pointing at proxy.linkos.bio also work for the apex — Cloudflare and Namecheap both call this "CNAME flattening." Use that if available; it's strictly better than the two A records.
The downloadable PDF has full screenshots for the five registrars below. Quick text version:
Cloudflare — DNS → Records → Add record → pick CNAME → name bio → target proxy.linkos.bio → turn proxying OFF (the orange cloud → gray cloud). Save. Done.
Namecheap — Domain List → Manage → Advanced DNS → Add new record → CNAME Record → host bio → value proxy.linkos.bio → save the green checkmark.
GoDaddy — My Products → DNS → Add → CNAME → name bio → points to proxy.linkos.bio. Save.
Google Domains — Resource records → CNAME → host bio → data proxy.linkos.bio. Note: Google sold its domain product to Squarespace mid-2024 — the UI is now under your Squarespace dashboard, but the same fields apply.
Vercel — Domains → Add → enter the domain → Vercel reads the CNAME for you and tells you exactly what to paste where. Easiest option if you're already on Vercel for other projects.
Once your DNS record is saved at your registrar:
bio.yoursite.com or yoursite.com)SSL is handled automatically. We provision a Let's Encrypt certificate the moment your domain verifies. You don't configure HTTPS; it just works. The certificate auto-renews every 90 days.
We've seen the same three issues thousands of times. If your verify fails, it's almost certainly one of these.
@ at proxy.linkos.bio violates the DNS spec on apex domains and most registrars silently reject it. Use the two A records (or ALIAS/ANAME) instead.dig bio.yoursite.com (Mac/Linux) or nslookup bio.yoursite.com (Windows) — if it returns the right target, propagation is done.Custom domain on Linkos only affects the specific subdomain or apex you point at us. Email, your main website, and other subdomains all keep working untouched.
yoursite.com running on Squarespace + want your Linkos bio at bio.yoursite.com? The CNAME at bio is independent of whatever's at @. Add it. Squarespace doesn't care.The two cheapest places that don't try to upsell you 12 things during checkout: Cloudflare Registrar (at-cost pricing, no markup, usually $9-12/year for a .com) and Porkbun (slightly more, but the UI is friendly).
Avoid GoDaddy if you can help it — their privacy protection is an upsell, the renewal pricing jumps after year one, and the DNS UI is built for a 2009 internet. Cloudflare is the better default for anyone shipping a brand seriously.
Try the tool
Open the qr code tool — free, no signup
Once your custom domain is live, generate a QR code pointing at it — printable, scannable, perfect for business cards.
Save the PDF, follow the walkthrough for your registrar, point the DNS at us, and verify in Linkos. Most people complete the full flow in under 10 minutes from "I should do this" to "live."
If a step fails and the three common errors above don't fix it, email contact@linkos.bio with your domain + registrar + a screenshot of the DNS records. We respond within a day, usually the same morning.
Sign up to start earning XP for every read.
Why use this
Custom domain in 10 minutes, not 3 hours.
No "why isn't my page loading" Slack messages.
Even if yours isn't in the guide, the patterns transfer.
Keep going
Guide28-page flagship guide. 6 chapters covering anatomy, link order, button copy, themes, custom domains, analytics. 110 A/B test results + 50 annotated creator pages.
Get it →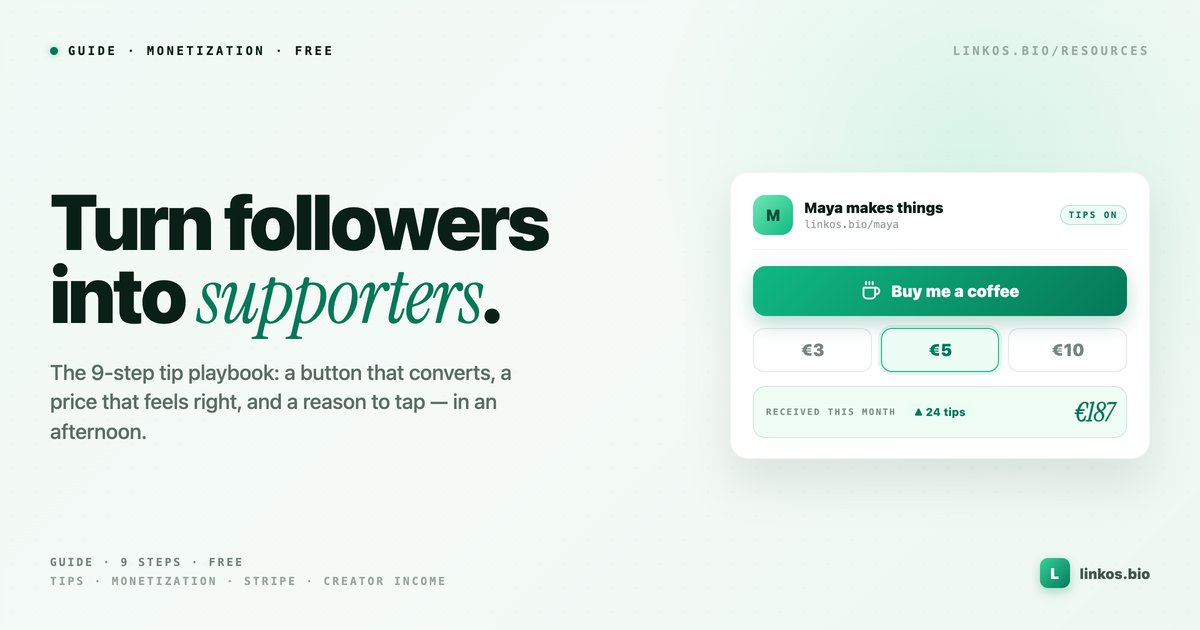 Guide
Guide9-step guide to earning from your audience: pick link vs native tips, price the button so it gets tapped, write copy people relate to, place it where it converts, and promote it without being weird.
Get it →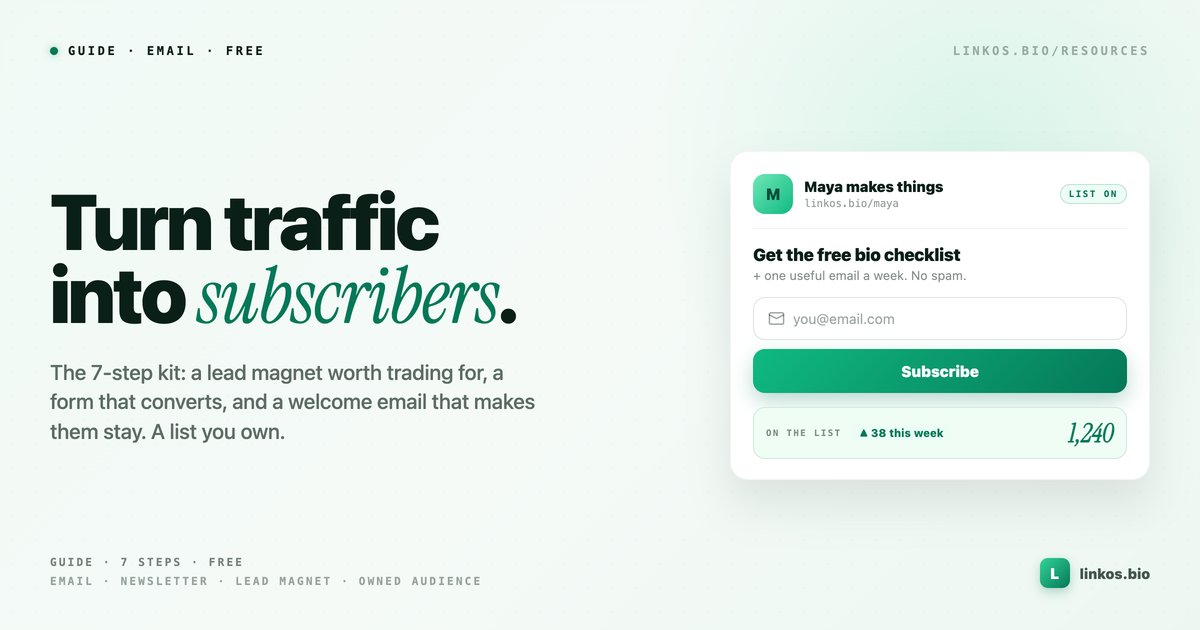 Guide
GuideTurn the traffic already hitting your bio into email subscribers: a lead magnet worth trading for, a signup form that converts, a welcome email that delivers, and a 5-minute setup checklist.
Get it →Plan with our resources, then build your bio in Linkos in under 5 minutes.